On this page
Tactical Route Planning in map.army
Plan a complex tactical route by combining an external routing tool with map.army. This recipe turns a free-form route built in Google My Maps (or any tool that exports KML) into a MilX layer that accepts the full tactical-graphics editor — so you can add checkpoints, phase lines, release points, and other military symbology on top.
When to use this workflow
Use this recipe when you need:
- A route with many waypoints (Google My Maps supports routes with up to ~10 waypoints out of the box).
- Road-following geometry rather than straight-line segments between points (Google’s routing service computes the path along real roads).
- The finished route as a MilX layer that you can extend with tactical symbology — checkpoints, release points, named phase lines.
Workflow overview
Google My Maps          map.army (Vector layer)         map.army (MilX layer)
─────────────────       ─────────────────────────          ─────────────────────────
Draw route, set     →   Import KML as vector      →   Convert vector layer to MilX
waypoints, export       layer; verify placement       and add tactical symbology
KML
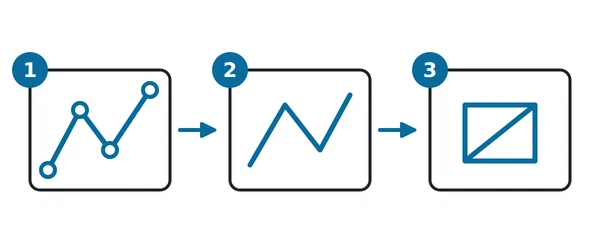
In the diagram: 1 draw the route and waypoints in Google My Maps; 2 import the KML as a vector layer; 3 convert it to a MilX layer and add symbology.
Step 1 — Plan the route in Google My Maps
- Open Google My Maps and create a new map.
- Add a route layer and click the Add directions tool.
- Click each waypoint along the desired path in order. Google routes between waypoints along roads.
- When finished, open the map’s menu and choose Export to KML/KMZ. Pick KML (not KMZ) and download the file.
Step 2 — Import the KML as a vector layer
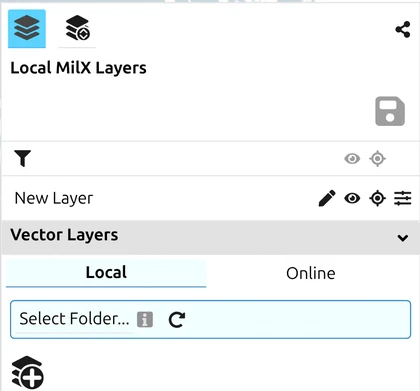
- In map.army, open Layers → Load Layer.
- Pick the KML file you exported from Google My Maps. The route appears as a vector layer.
- Verify the geometry — pan and zoom to confirm the route follows the path you expected.
See Import Overlays — Vector Layers for the general import workflow and KML-import notes (icon references from KML are not preserved on import; the geometry is what matters here).
Step 3 — Convert the vector layer to a MilX layer
The vector layer carries geometry only — to add tactical-graphics editing, convert it to a MilX layer:
Find the imported vector layer in the Layers panel. The convert icon sits on the layer’s own row, alongside download and visibility — it is not inside the settings dialog. Its tooltip reads Convert the layer to MilX and add it to the project.
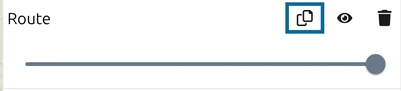
Click it.
The route is now a MilX line; the layer is editable with the full tactical-graphics editor.
Step 4 — Add tactical symbology on top
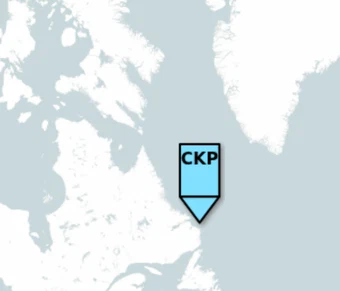
With the route now in a MilX layer, place additional symbols at relevant points along the route:
- Checkpoints, release points, and phase lines as tactical graphics from the Symbol Gallery.
- Unit symbols for the elements moving along the route, on the same or a separate layer.
- Range rings for engagement zones along the route — see Map Tools → Range Rings.
Save the result as .milxlyz or share it via a MilX share link — see How to create a share.
Notes and limitations
- Waypoint count. Google My Maps’ free routing supports about 10 waypoints per route. For longer routes, plan in segments and join the resulting vector layers in map.army.
- KML icon references assigned in Google My Maps are not preserved on import — every feature gets the same generic base symbol, taken from a fixed template rather than inferred from the KML. The route’s geometry survives. To give those features a real symbol, open one in the MSS Symbol Editor and use Base Symbol… — see Import Overlays. That is a different step from adding new tactical graphics on top.
- Coordinate accuracy is bounded by Google My Maps’ precision (typically several metres). For exact-coordinate planning, place tactical graphics directly in map.army using on-map editing or the point list.
Last updated: