On this page
Draw Range Rings and Weapon Range Fans on a Map
A common operational-planning task is drawing range rings — circles of a fixed radius around a point, used to show weapon ranges, SAM threat zones, communications coverage, or any radius-based area of effect.
Choose the right graphic
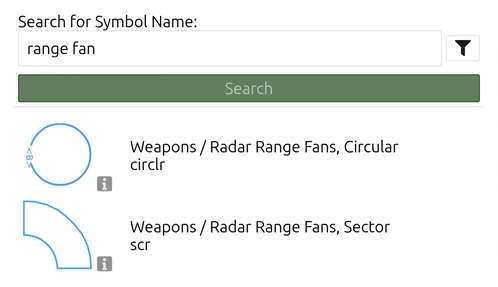
map.army offers range rings as tactical graphics. Find them with the Symbol Search: the circular fan is not listed in any gallery group, so searching is the only way to reach it. The two to use:
- Weapons / Radar Range Fans, Circular — a single circle of configurable radius around one point. This is the one most people mean by “range ring”. Its MIL-STD-2525C designation is Weapon/Sensor Range Fan, Circular; the app shows the label above.
- Weapons / Radar Range Fans, Sector — the same hazard limited to an arc, for a weapon or sensor that does not cover the full circle.
Graphics often reached for here that are not range rings, all of them separate entries in the gallery: Position Area For Artillery (PAA), Circular and …, Rectangular describe the area a battery occupies, not a distance from it; Short-Range Air Defense Engagement Zone (Shoradez) and Missile Engagement Zone (MEZ) are bounded areas in which a commander intends to engage. Draw those when an area is what you mean.
Symbol names follow the interface language, but not completely: German shows Waffen / Radar Reichweite, Kreisförmig, while French and Italian translate only the last word (…, Circulaire, …, Circolare). Search with the name as your language shows it — in English, range fan finds both.
Drawing a single range ring
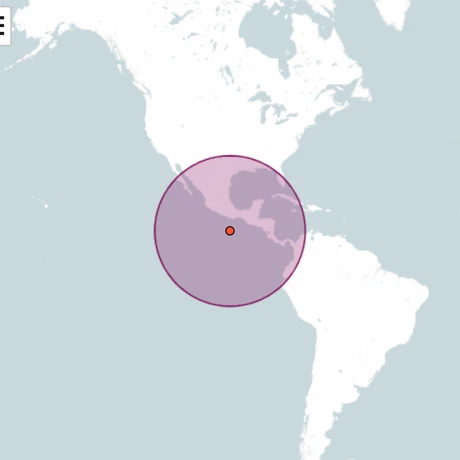
Search for the range fan in the Symbol Search and pick it.
Click on the map at the centre of the ring. The ring is placed at once with a small default radius and stays in edit mode, with a red centre point and a purple radius handle on its right edge.
Drag the purple handle outward until the ring has the radius you need (dragging the centre point moves the whole ring instead), then confirm with the check mark at the bottom.
To set the radius numerically, open the Point List on the placed graphic (see The Point List). It shows two groups: Radius, an editable field where you enter the exact radius in the units configured under Options → Unit Settings → Distance Unit, and Points, the coordinate of the centre.
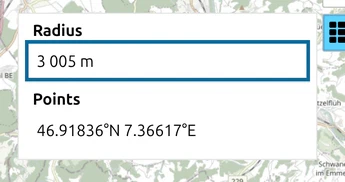
A circular range fan has no Safety Distance (Zone) controls: its Point List shows only Radius and the centre Points. The Safety Distance (Zone) group appears only for ordinary one-point symbols such as units.
Stacking concentric rings
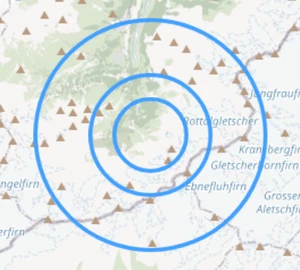
For multiple concentric rings around the same point (for example “max effective”, “max effective at 80 %”, “max engagement”):
Place the first ring as above.
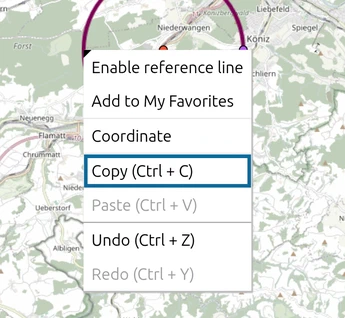
Click the first ring once so it is selected, then press Ctrl + C or right-click it and choose Copy (Ctrl + C). Right-click the map and choose Paste (Ctrl + V) to duplicate it in the active layer.
Open the point list (View and edit graphic’s coordinates) on the duplicate and change only the radius.
Repeat for each additional ring; place them all on the same layer for easy show / hide.
Last updated: