On this page
Load a MilX Layer via URL Parameter into map.army
In this article you can read about how to load a MilX-Layer from your web server to the map.army website.
Every accepted URL parameter
A map.army link can carry more than one instruction. These are the parameters the app reads:
| Parameter | Value | What it does |
|---|---|---|
layer | URL of a MilX file | Loads that layer. Repeatable — give it several times to load several layers. Append ;readonly to a URL to add the layer read-only. |
ShareID | number | Opens a MilX Share by its id — see How to create a share |
UserType | the share’s secret string | The secret that authenticates the link. Despite the name it is not a role name — do not put RO, RC or RW here; the access level is decided by which secret you use |
VersionID | number | Opens one specific version of a share instead of the newest |
mapType | stringified JSON | Draws one custom WMTS or WMS service as the base map, instead of the usual list — see below |
share-target | (no value) | Set by the operating system when you share a file to the installed app; not something you write yourself |
The ;readonly suffix is the useful one for publishing: a reader can look at your layer and pan around it, but cannot alter what you published.
mapType is the one parameter with more to it than a line. It carries a JSON description of one WMTS or WMS service, and that service replaces the base-map list for the session rather than joining it — every property, worked examples for both service types, the attribution obligation and the two ways a link can fail are covered in Connect Your Own Map Service.
Which instruction wins
When more than one source could supply layers, map.army works down a fixed order and takes the first that applies:
- A file handed to the installed app by the operating system — you double-clicked a
.milxlyzfile. - Whatever the URL asks for —
layer, or a share viaShareID. - A file shared to the app through the system share sheet.
- The last share link you opened, remembered from your previous session.
- Nothing to load: the app starts with one empty layer.
So a ?layer= link always beats the session you left behind, which is what makes such a link safe to send to somebody who already uses map.army.
Embedding in a page

To put map.army inside a web page, use an iframe — see Embed map.army in a website using an iFrame. The parameters above work in an embedded frame exactly as they do in a normal link.
Load MilX-Layer using URL parameter
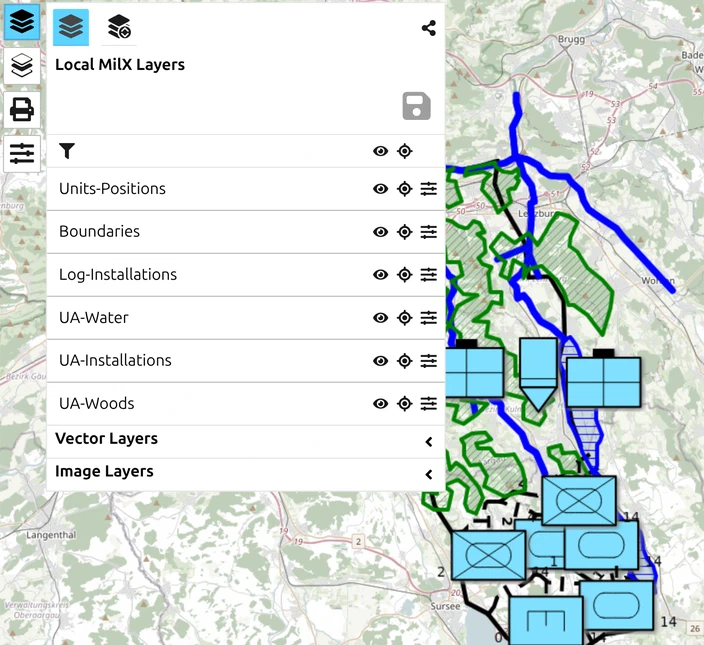
The latest version of the web application supports to load MilX layers as a ULR parameter. This enables the implementation of an interactive maps into a web page or blog:
The following steps are required for the implementation:
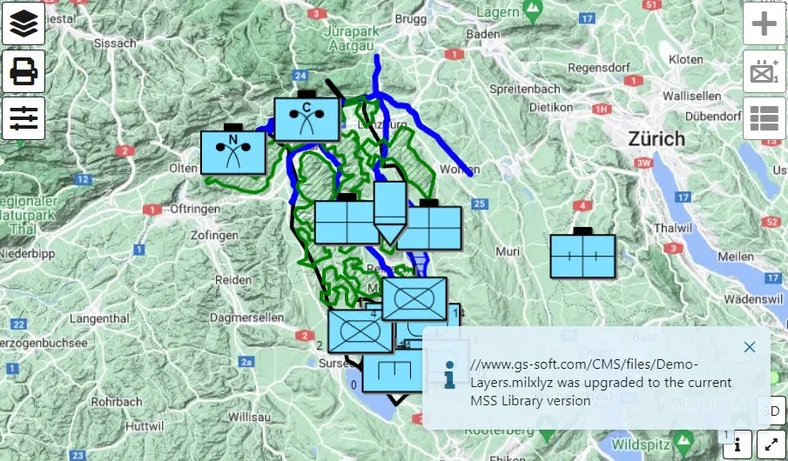
Step 1 – Save Layer(s)
Create your layers in the web application map.army. Save one or multiple layers into a single MilX file (layer collection).
Step 2 – Upload
Load the MilX file created in step 1 on your web server. Test whether the layer can be downloaded as a file using a web browser. Example of a link to a layer: www.gs-soft.com/CMS/files/Layer.milxlyz
If you are not able to download the file: Check whether the web server supports the MilX file format (MIME Type):
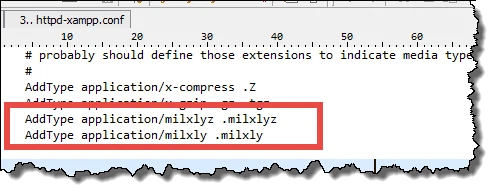
Example of MIME Type definition for *.milxlyz and *.milxly.
Step 3 - Cross-Origin Resource Sharing (CORS)
Is your web server supporting CORS? This is required for the MilX files on your web server to be loaded by a web browser running the web application on www.map.army. CORS therefore must be activated for the domain www.map.army. Depending on the web server this can be done by the following steps:
Apache: The *.htaccess file (in the folder on the web server that contains the *.milxlyz file) should be extended with the following permission:
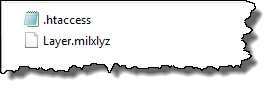
Header add Access-Control-Allow-Origin: https://www.map.army
Note: If there is no *.htaccess file in this folder, it must be generated and the permission listed above has to be integrated.
IIS: The following customisation has to be made in the IIS GUI:
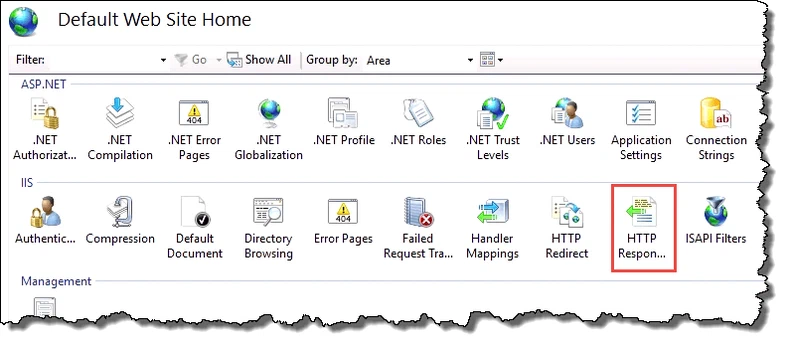
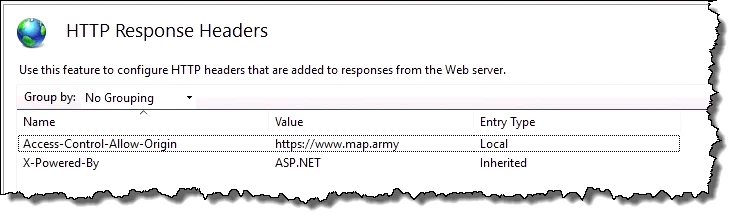
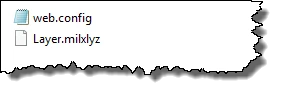
As an alternative, the following permission can allow CORS using the web.config file (in the folder containing the *.milxlyz file):
<?xml version="1.0" encoding="UTF-8"?>
  <configuration>
      <system.webServer>
          <staticContent>
              <mimeMap fileExtension=".milxlyz" mimeType="application/octet-stream" />
          </staticContent>
          <httpProtocol>
              <customHeaders>
                  <add name="Access-Control-Allow-Origin" value=" https://www.map.army" />
                </customHeaders>
          </httpProtocol>
      </system.webServer>
  </configuration>
Step 4 - Test
Is it possible to load a MilX layer directly from the web server in www.map.army using the URL parameters? To test this, you can replace the URL of the MilX layer (www.gs-soft.com/CMS/files/Layer.milxlyz) in the following example:
https://www.map.army/?layer=www.gs-soft.com/CMS/files/Layer.milxlyz
Step 5 - Read-Only Parameter
Depending on the application the layers loaded via the URL parameter should be editable or not. For this purpose, the “readonly” parameter is provided. It can be attached to the URL as the following example demonstrates:
https://www.map.army/?layer=www.gs-soft.com/CMS/files/Layer.milxlyz;readonly
Step 6 - Adjust iFrame After completing steps 1 - 5 your are able to add the URL parameters to the iFrame on your web page. Here is an example of code that you can copy:
Example 1:
<iframe src="https://www.map.army/?layer=www.gs-soft.com/CMS/files/Layer.milxlyz;readonly"
width="800" height="600" style="border:0" loading="lazy" referrerpolicy="no-referrer"></iframe>
Example 2:
<iframe src="https://www.map.army/?layer=www.gs-soft.com/CMS/files/Demo-Layers.milxlyz;readonly"
width="100%" height="98%" style="border:0" loading="lazy" referrerpolicy="no-referrer"></iframe>
If you have further questions, we are happy to assist you in our Google Group.
Last updated: